Confirm that Framer fits the website before rebuilding it.
Crawl and inventory the existing WordPress site.
Map every valuable URL to a destination in Framer.
Recreate CMS content using a planned field structure.
Transfer metadata, headings, internal links, and image context.
Test redirects, forms, analytics, mobile layouts, and DNS before launch.
Monitor indexing, errors, traffic, and leads after the switch.
Learning how to move a website from WordPress to Framer involves more than rebuilding pages and pointing the domain at a new host. A safe migration must account for content, URLs, metadata, redirects, forms, analytics, integrations, DNS, and post-launch monitoring.
The more organic traffic, backlinks, CMS content, or business-critical functionality the WordPress site has, the more carefully the migration should be controlled.
Step 1: Confirm That Framer Fits the Use Case
Framer is often a strong option for service-business websites, startup and SaaS marketing sites, portfolios, blogs, case studies, and landing pages.
Pause and evaluate if the WordPress installation depends on:
WooCommerce or complex checkout workflows;
advanced memberships;
large multi-author editorial operations;
custom post types with complex relationships;
proprietary plugins;
user accounts or application logic;
deeply customized search or filtering.
Some functions can be connected to external services, but the new architecture should be decided before the migration begins.
Step 2: Create a Migration Control Sheet
Crawl the current site and create a spreadsheet with at least these columns:
Field | Purpose |
|---|---|
Current URL | Source page that must be evaluated |
Status code | Identifies live pages, redirects, and errors |
Page type | Page, post, category, service, project, or other |
Organic value | Traffic, rankings, or backlinks where known |
Conversion role | Calls, forms, downloads, or assisted journey |
New URL | Destination in Framer |
Action | Keep, improve, merge, redirect, or remove |
Title and description | Metadata to preserve or improve |
Content owner | Person approving migration |
QA status | Tracks verification before launch |
Export WordPress pages, posts, categories, media, menus, SEO plugin metadata, forms, and redirects. Record analytics and Search Console baselines.
Our detailed WordPress-to-Framer migration checklist can be used alongside this process.
Step 3: Decide What to Keep, Improve, Merge, or Remove
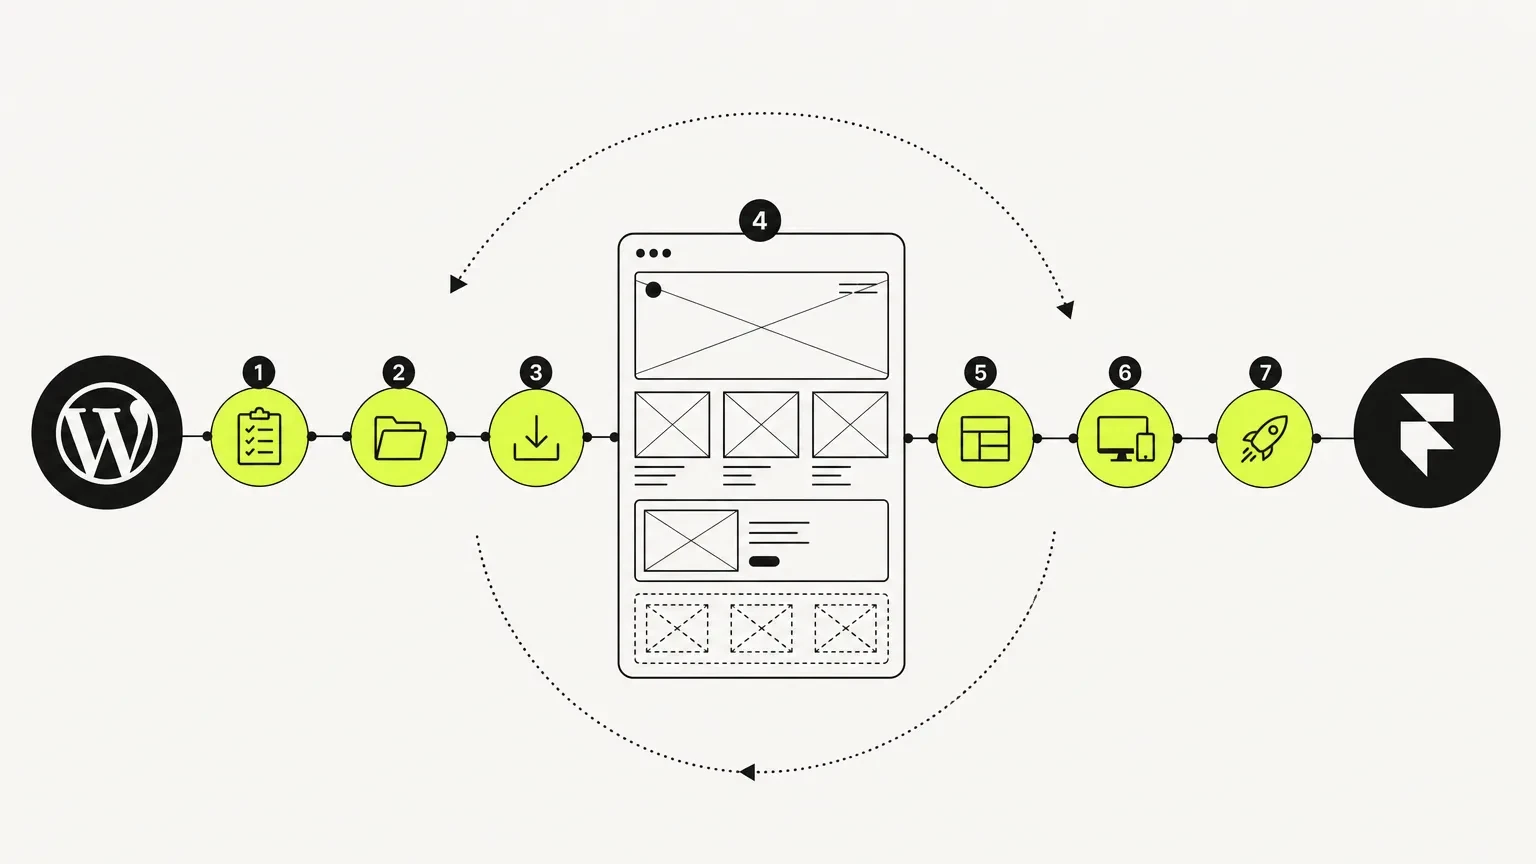
Step-by-step guide for migrating from WordPress to Framer without losing critical steps.
Do not migrate clutter automatically. Review each page:
Keep: Valuable and still accurate.
Improve: Useful intent but weak content or design.
Merge: Overlaps with another page and can be consolidated.
Redirect: Replaced by a closer, stronger destination.
Remove: No continuing value and no relevant replacement.
Do not delete a page solely because it receives little traffic. It may support a buyer journey, backlink, internal path, or legal requirement.
Step 4: Plan the Framer CMS
Map WordPress content into Framer collections. A blog collection might contain:
title;
slug;
summary;
body;
author;
publication date;
category;
featured image;
image alt text;
meta title;
meta description;
social image;
related content.
Review how WordPress categories, tags, authors, custom fields, and shortcodes will be handled. Remove shortcode remnants from migrated copy.
If the site contains many posts, test the content transfer with a small sample before committing to the final model.
Step 5: Build the Website on a Staging Domain
Build and test the Framer site before changing the main domain. During this stage:
create global styles and components;
build responsive page templates;
populate CMS collections;
recreate forms and integrations;
add metadata and social images;
optimize media;
establish analytics events;
prevent accidental duplicate indexing where appropriate.
Avoid editing both sites without a content freeze plan. Otherwise, late WordPress changes may be missing from Framer at launch.
Step 6: Preserve URLs Where Practical
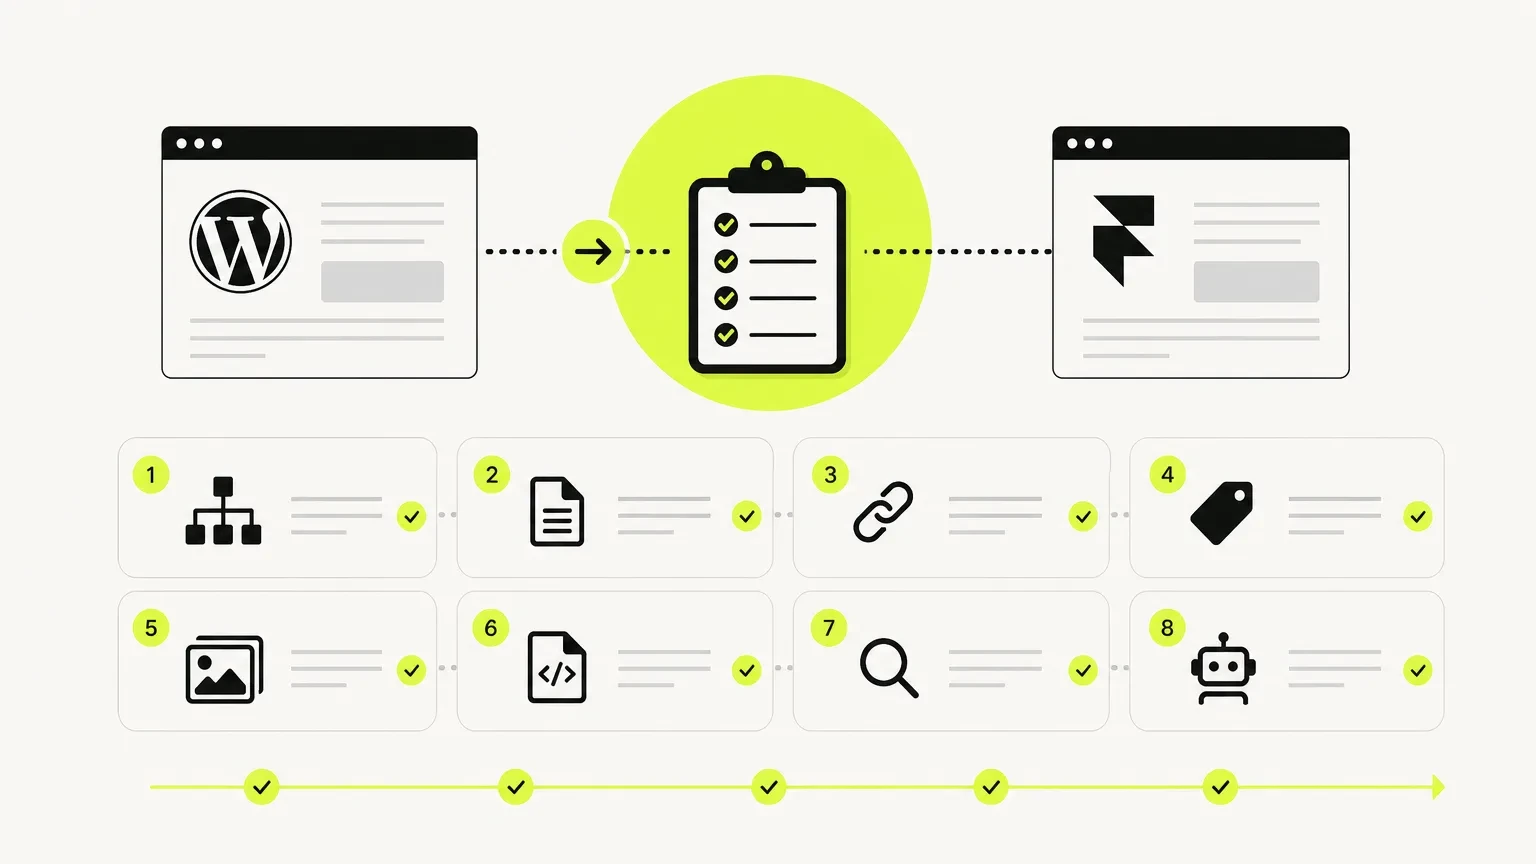
Essential steps to ensure SEO integrity during migration to Framer.
Keeping an existing high-value URL avoids an unnecessary redirect. When a URL must change, map the old address to the closest relevant new page.
Bad migration pattern:
/old-service-page → homepage
Better pattern:
/old-service-page → /new-relevant-service
Redirect chains should also be avoided. Point the original URL directly to the final destination.
Step 7: Transfer SEO Elements
For each important page, review:
title tag;
meta description;
canonical URL;
H1 and subheadings;
body content;
internal links;
image alt text;
structured information;
indexability;
social sharing data.
A migration is also an opportunity to improve weak elements, but avoid changing the platform, URL, design, and core content of every valuable page without a reason. Too many simultaneous variables make problems harder to diagnose.
Step 8: Test Functionality and Responsive Behavior
Test on representative desktop and mobile devices:
navigation and menus;
forms and confirmations;
CRM or email delivery;
scheduling embeds;
downloads;
search and filters;
CMS pages;
internal and external links;
cookie and privacy tools;
analytics events;
keyboard navigation and visible focus;
image loading and layout stability.
Use real submissions, not just visual inspection.
Step 9: Prepare DNS, Redirects, and Rollback
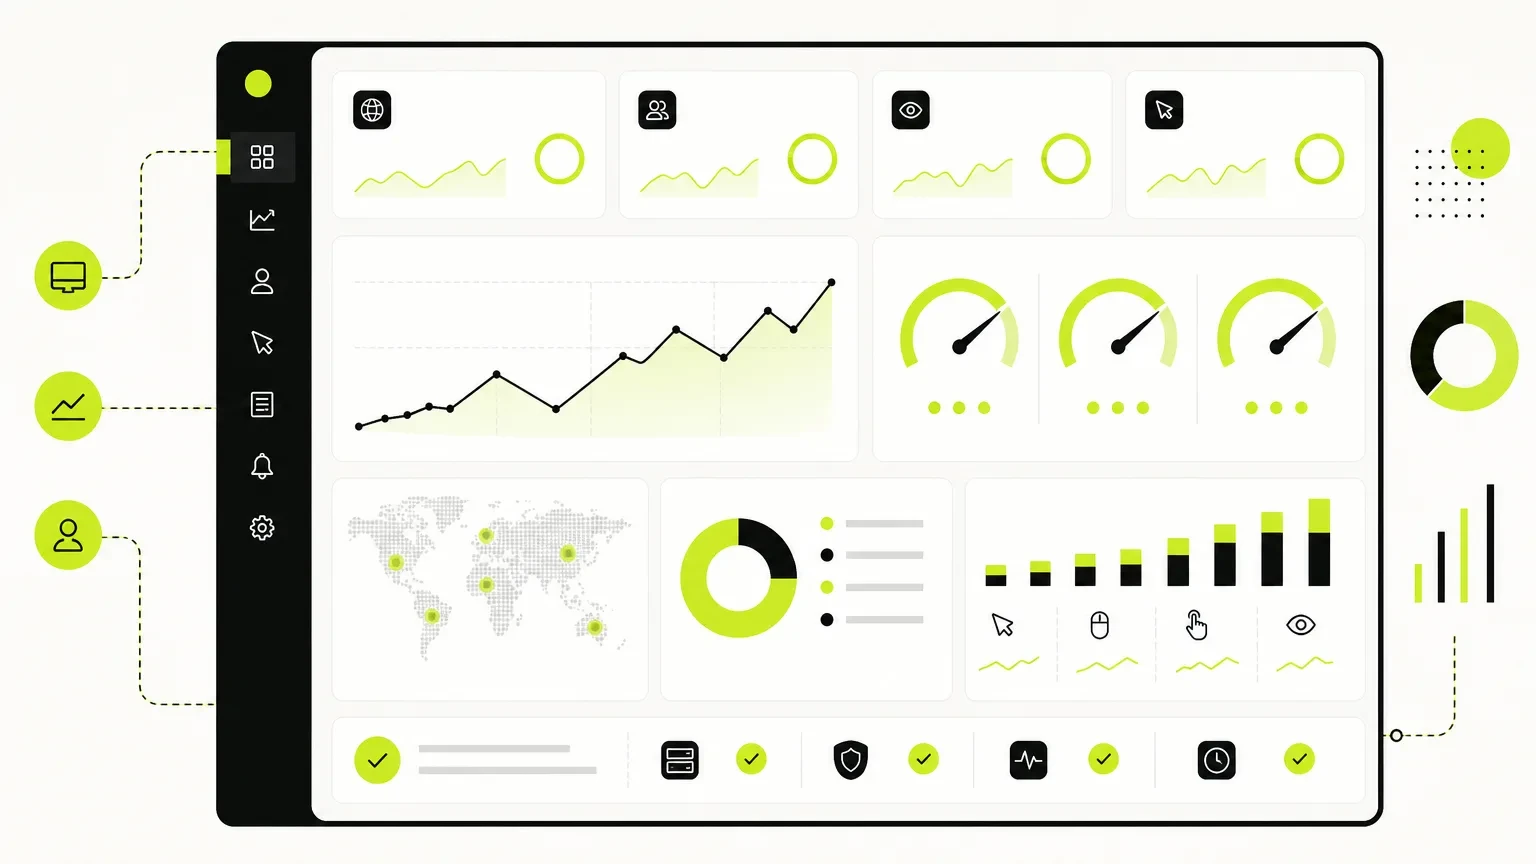
Monitoring performance metrics post-launch to ensure smooth operation.
Before launch:
Confirm access to the domain and DNS provider.
Record existing DNS settings.
Reduce DNS TTL in advance when appropriate.
Load and verify redirects.
Complete a final content synchronization.
Back up the WordPress site and database.
Assign a launch owner and rollback decision-maker.
Schedule monitoring when the team is available.
Changing DNS only points users to the new website. It does not automatically transfer redirects, analytics, forms, or SEO settings.
Step 10: Launch and Monitor
After connecting the domain:
crawl the live site;
test priority URLs and redirects;
submit representative forms;
verify analytics events;
inspect the sitemap and robots directives;
review canonical tags;
check Search Console for indexing issues;
monitor organic landing pages and lead volume;
keep the WordPress backup available during the agreed safety period.
Small ranking fluctuations can occur, but widespread losses, large increases in 404s, or missing pages require investigation.
Migration Warnings
Do not:
rely on copy and paste as the complete migration method;
redirect every page to the homepage;
forget SEO plugin metadata;
launch without testing form delivery;
discard the old site immediately;
change URLs without a redirect map;
leave staging pages indexable;
assume DNS changes propagate identically for every visitor;
claim the migration is lossless without monitoring evidence.
For a shorter companion resource, see the essential migration steps.
Conclusion
A WordPress-to-Framer migration succeeds when the new website improves the system without discarding valuable content, search equity, tracking, or functionality. Inventory first, map every important URL, test the complete journey, and monitor after launch.
Businesses with valuable organic traffic, complex CMS content, or integrations should consider specialist Framer development support rather than treating the move as a simple visual rebuild.